Lighting is one of the most important aspects of any shipping container home
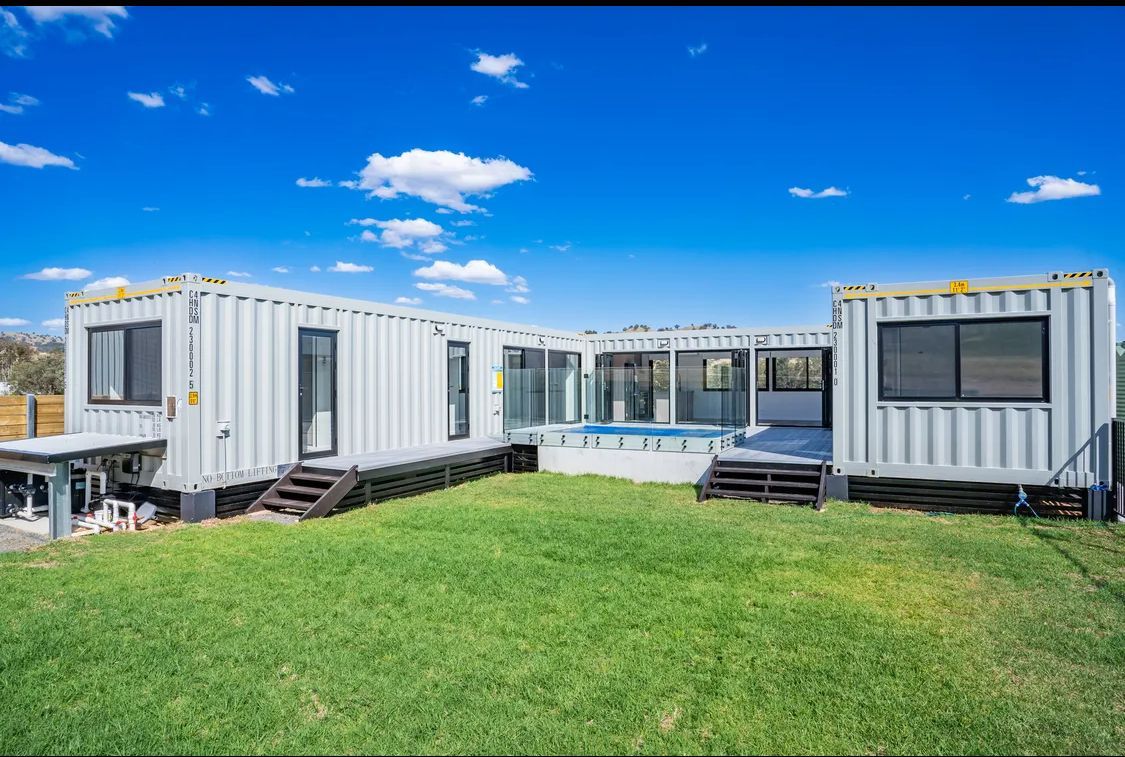
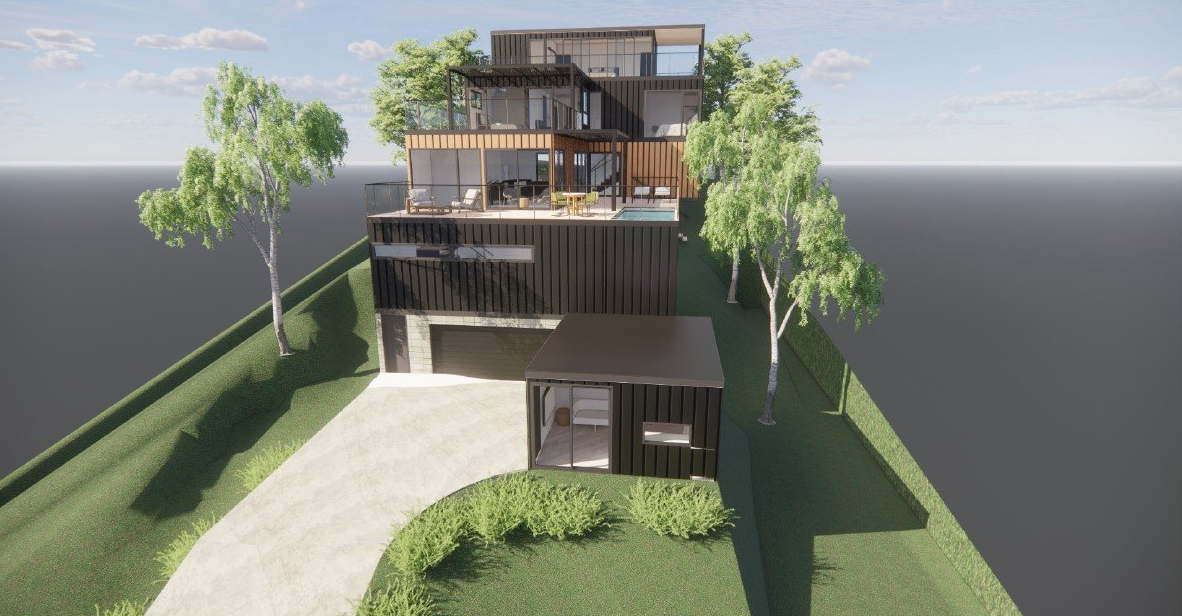
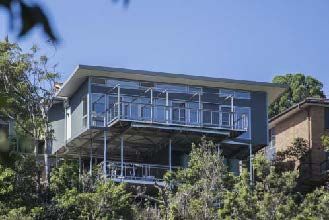
Shipping container homes and offices are more popular than ever in Australia — and for good reason. They’re cost-effective, versatile and stylish. But while a lot of thought goes into layout and insulation, lighting is often an afterthought. And that’s a mistake.
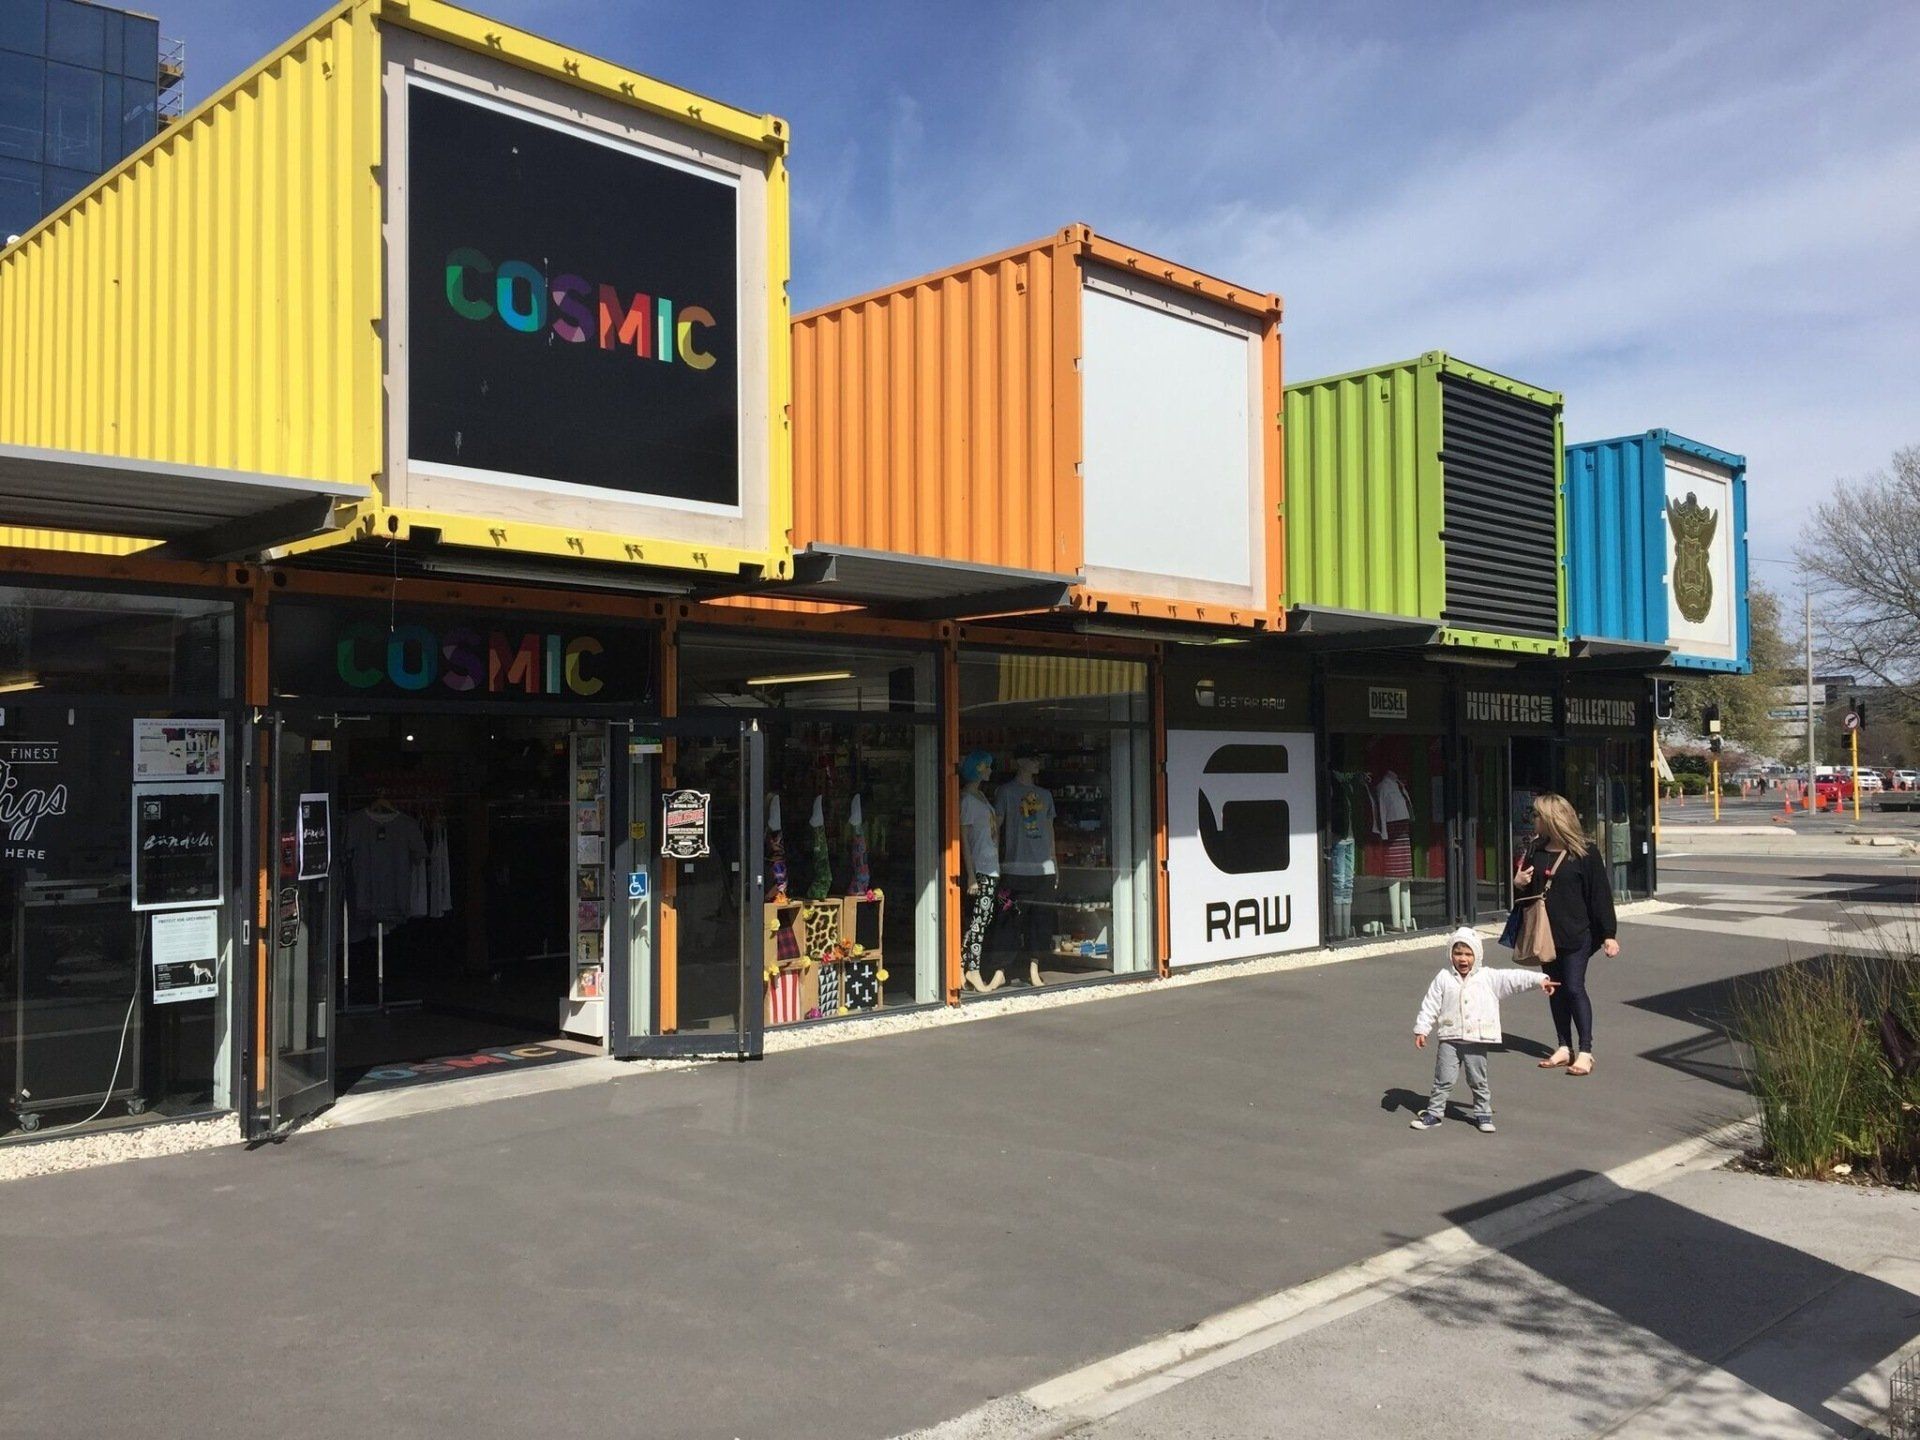
Whether you’re converting a shipping container into a tiny home, pop-up café, backyard studio or site office, the lighting you choose can make or break the space. It’s not just about brightness — it’s about atmosphere, functionality and energy efficiency.
In this guide we’ll take you through everything you need to know about shipping container lighting in Australia — from choosing fixtures to navigating regulations and making the most of natural light.
1. How Will the Space Be Used
Before you start picking out fancy pendants or solar powered LEDs, stop and ask: What is this space for?
Is it a living area where warm, ambient lighting is ideal? A workspace where task lighting is essential? Or perhaps a retail space that needs a bit of flair to draw attention?
Lighting decisions should follow function — and in many cases, smart lighting can offer the flexibility to adapt your space as needed.
- Living spaces need layered lighting — a mix of overhead, task and accent lighting.
- Workshops or offices need brighter, focused lighting that reduces eye strain.
- Retail or hospitality spaces might opt for stylish or colour changing fixtures to set the mood or create visual interest.
2. Work with the Container
Shipping containers weren’t designed for humans to live or work in — let alone install lighting fixtures. So you need to work with the container, not against it.
Height
Most standard containers are only 2.4m high (or less once insulation and ceilings are added), so large hanging lights might make the space feel cramped. Low profile LED downlights or surface mounted fixtures are often a better choice.
Wall Material
Steel walls and ceilings pose installation challenges. Magnet based lighting or surface mounted conduit systems can help avoid drilling into the steel and compromising the container’s structural integrity.
3. Energy Efficiency
Australia’s climate — and rising energy costs — make energy efficient lighting a no brainer.
LED Is King
LEDs use up to 80% less electricity than halogens and last up to 25 times longer. They’re also cooler to the touch which helps reduce internal heat — a big plus during an Aussie summer.
Solar Options
If your container is off-grid or in a remote area, solar powered lighting (with battery storage) is worth considering. It’s not just eco-friendly — it also future proofs your build against energy price hikes.
4. Make the Most of Natural Light
No artificial lighting can beat the sun — and when done right it can dramatically reduce your daytime electricity use.
Add Windows and Glass Doors
It might seem obvious but many shipping container builds skimp on glazing. Sliding glass doors or large windows instantly flood the space with daylight, reducing the need for daytime lighting.
Use Skylights or Solar Tubes
If wall space is limited a skylight or solar tube is a smart way to introduce natural light from above. Just ensure it’s properly sealed and insulated to prevent leaks or heat loss.
5. Choose the Right Colour Temperature
Lighting isn’t just about how bright a room is — it’s also about the feel of the space.
- Warm white (2700K–3000K) creates a cosy, homely atmosphere.
- Cool white (4000K) is neutral and good for kitchens, bathrooms or laundry spaces.
- Daylight (5000K–6500K) mimics natural light and is best for workspaces or art studios.
Mix and match to suit the purpose of each area — but keep consistency within the same room to avoid a patchy look.
6. Don’t Forget Outdoor Lighting
If your container has a deck, entrance or patio area, outdoor lighting adds both safety and aesthetic value.
Solar Garden Lights
Great for pathways or borders, these require no wiring and charge during the day.
Wall-Mounted Sensor Lights
Motion sensor LED lights can deter intruders and provide automatic illumination when you arrive home after dark.
Festoon or String Lights
Perfect for entertaining, these add a relaxed, ambient vibe — and many models now come in solar versions suitable for outdoor use.
7. Consider Wiring and Installation Early
Retrofitting electrical wiring into a finished container home is messy, expensive and time consuming. Always plan your lighting and power needs before lining the walls or finishing the interior.
A licensed electrician is a must. In Australia all electrical work — including lighting installation — must be carried out by a qualified professional. DIY electrical work is illegal and can void your insurance.
If your container is in a bushfire-prone or cyclone rated area make sure your lighting and cabling meets the relevant standards for your region.
8. Get Creative with Lighting
Shipping containers are minimalist but that doesn’t mean your lighting has to be boring.
Here are a few creative ideas to elevate your container space:
- LED strip lighting under shelves or cabinets for a modern touch.
- Recessed spotlights that highlight artwork or architectural features.
- Smart bulbs that let you change colour and brightness via app or voice control.
- Industrial style fittings that match the raw, utilitarian look of a container.
9. Think Long Term
If you’re planning to expand your container home later — or move it to a new site — choose a flexible lighting setup that can adapt.
Modular lighting systems, plug in fittings or smart lighting that doesn’t require complex rewiring can save you a lot of hassle down the track.
Also consider using lighting that’s easy to maintain or replace. In remote or regional areas having to order special parts just to replace a globe can be frustrating.
Bright Spaces Big Impact
Lighting is one of the most important aspects of any shipping container conversion — yet it’s often the most underestimated. The right lighting can make a tiny space feel warm, spacious and functional while the wrong lighting can make even the best designed container feel cold or cramped.
By thinking about how you use the space, prioritising energy efficiency and working with the container’s natural constraints you’ll be well on your way to creating a bright, inviting space that looks and feels like home — all without blowing the budget.
So whether you’re going off-grid in the outback or installing a sleek backyard studio in suburban Melbourne remember: good lighting isn’t just a finishing touch — it’s the foundation of comfort and livability.
👉 Next Step:
- Book a free consultation call
- Download our Container Home Cost & Compliance Checklist (PDF)
- View completed projects
More Blog Articles